

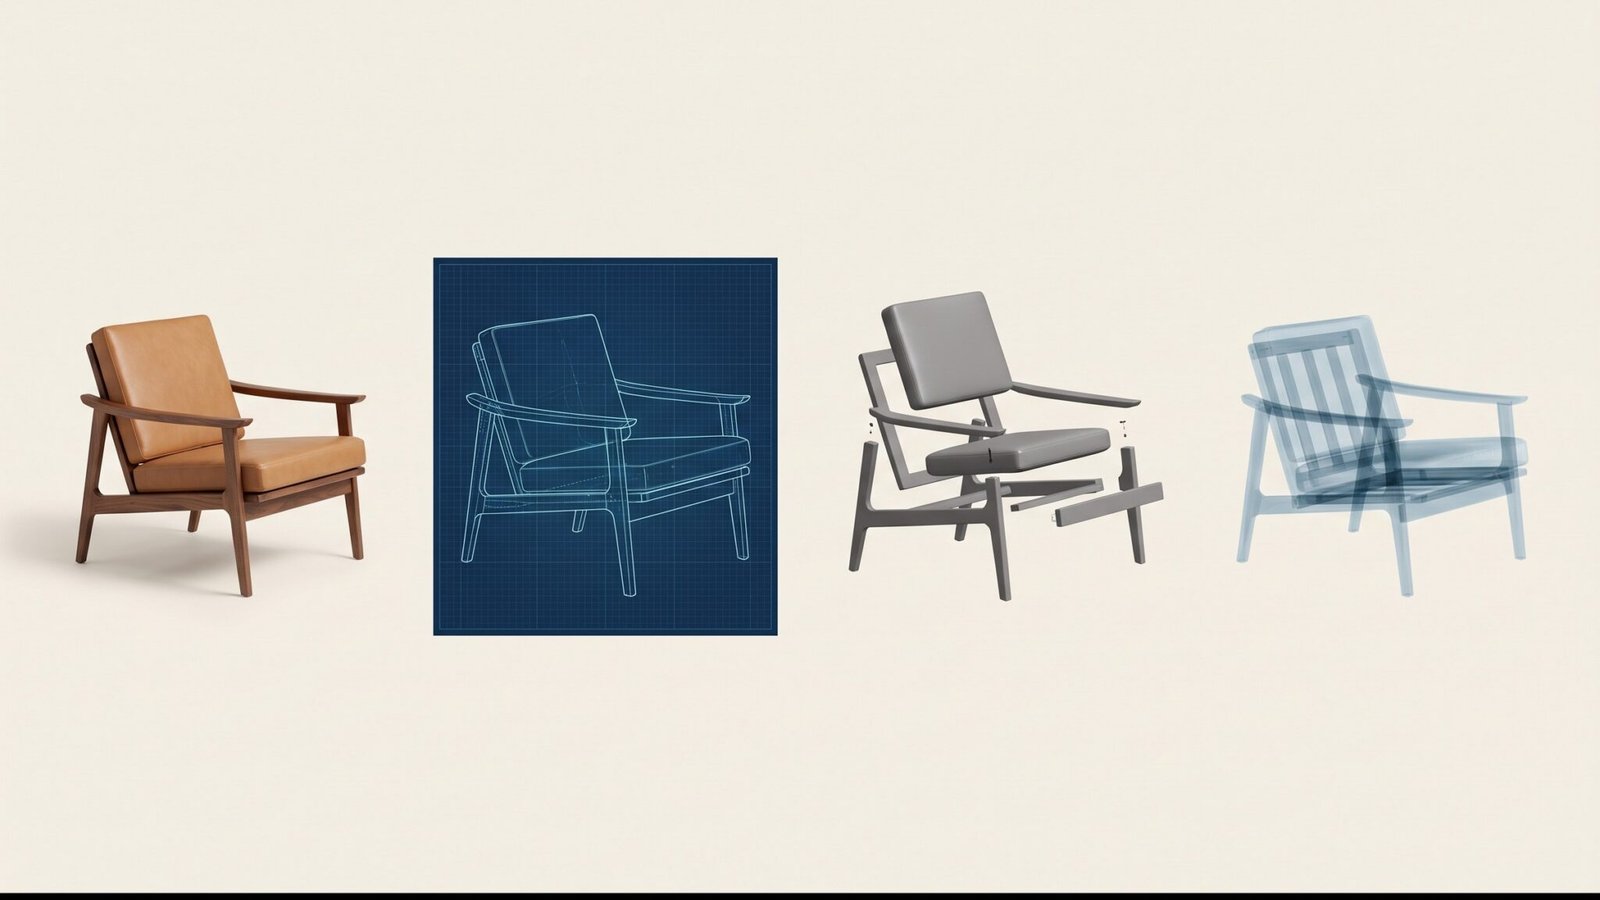
Above: one chair, four codewords — the source photograph, then /blueprint, /explodedview and /xray.
Most people over-write their image prompts. They type a paragraph, get something close to what they wanted, then type a longer paragraph and get something further away. The fix is not more words — it is a shared shorthand between you and the model.
This is a library of 64 codewords for image generation, editing, diagrams and visual explanation. Upload a picture, type one word, get a new view of it. No prompt engineering, no sentence construction, nothing to remember beyond a slash and a term you already know.
It is built for the way design and property teams actually work: a product that needs a catalogue shot, a detail that needs a cutaway, a site photograph that needs the sky replaced, a material that needs a palette pulled out of it.
How to use it
- 01 — UploadA photo, sketch, screenshot or scene.
- 02 — Type onlyOne codeword, such as
/cutaway. - 03 — Get the resultA new view, style, diagram or edit.
Your prompt can be one word. Upload an image, send the codeword, review the result.
Why one word works. A codeword is not a shortcut for a longer prompt — it is a well-defined instruction. /cutaway means something precise to anyone who has worked with technical illustration, and the model treats it the same way. Ambiguity is what makes long prompts drift; a term with one meaning does not drift.
What to upload
The codeword decides what happens; the upload decides how well it happens. These are the kind of
sources that work — one subject, filling the frame, evenly lit, on a ground that is not
competing with it. A cluttered or low-resolution photograph gives the model less to read, and
that shows up in the result long before the codeword does.
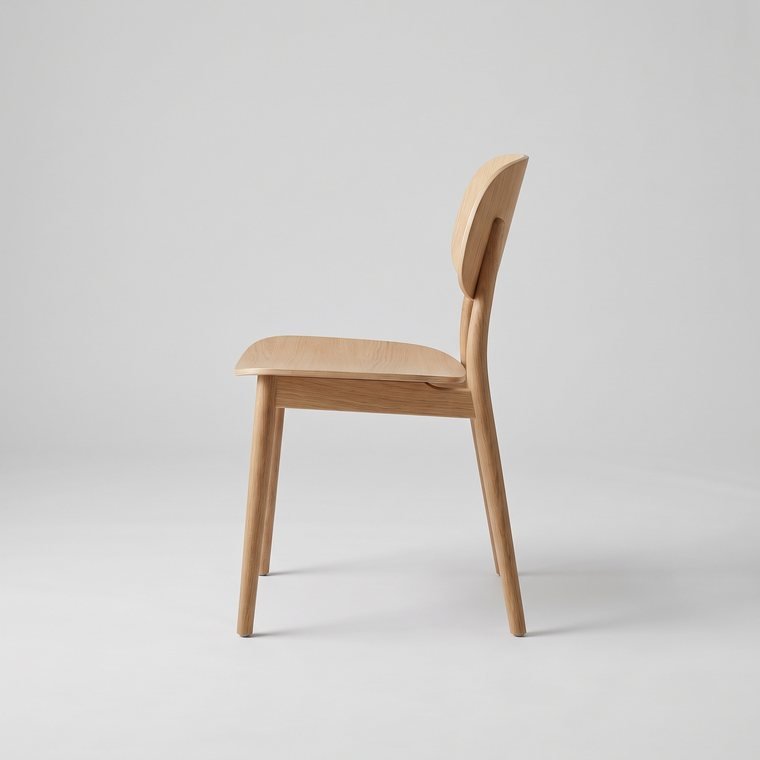
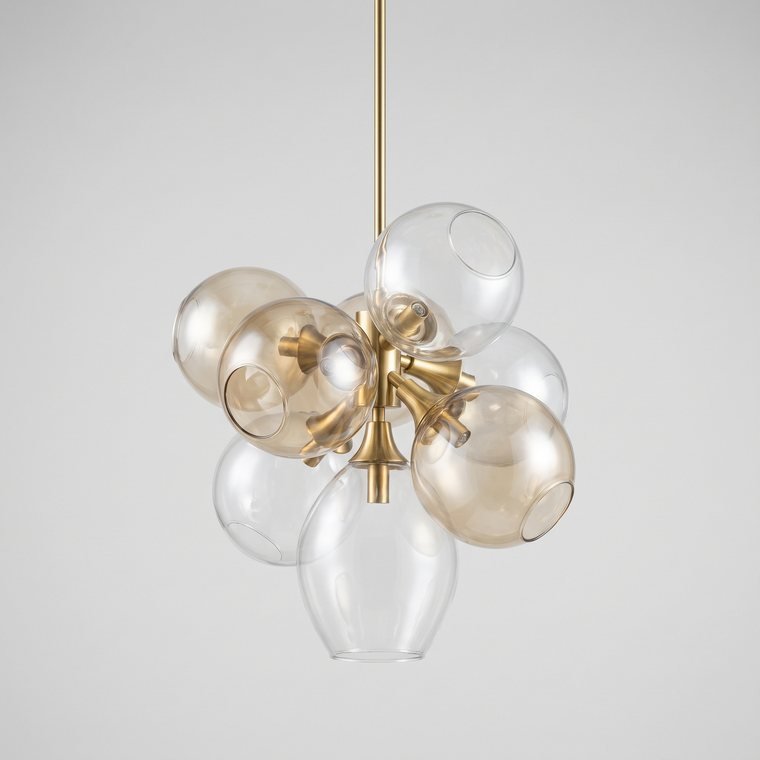
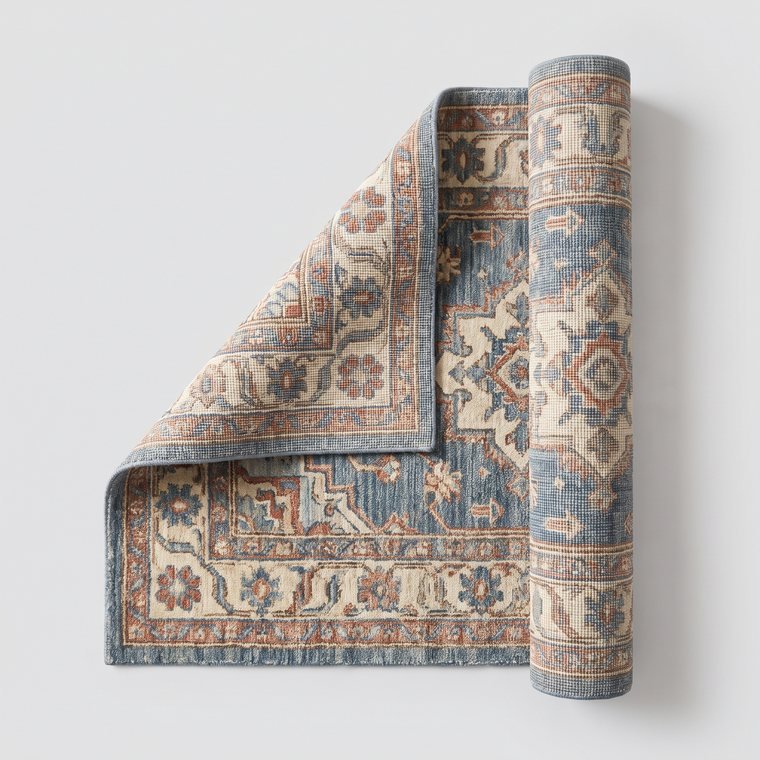
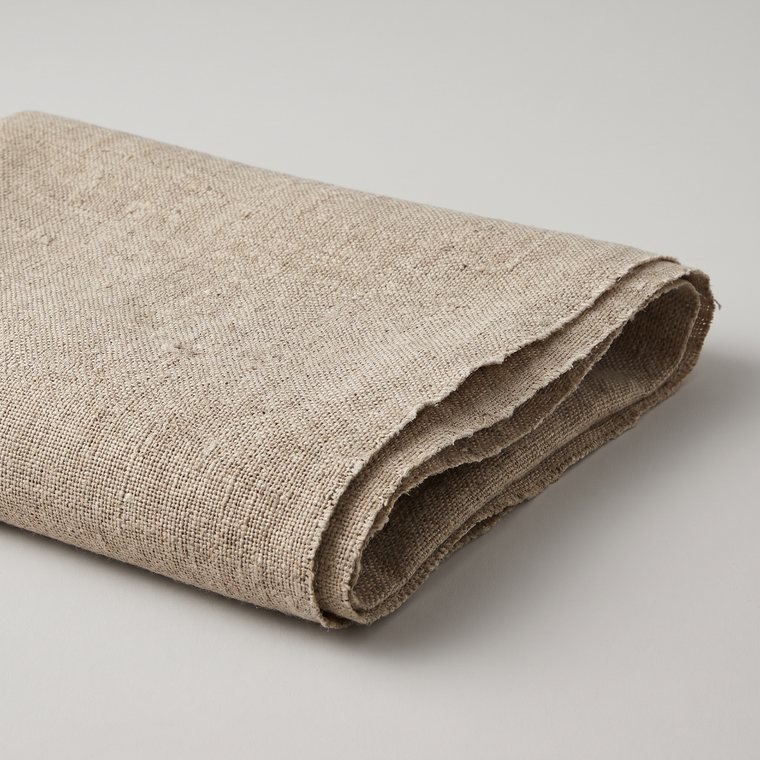
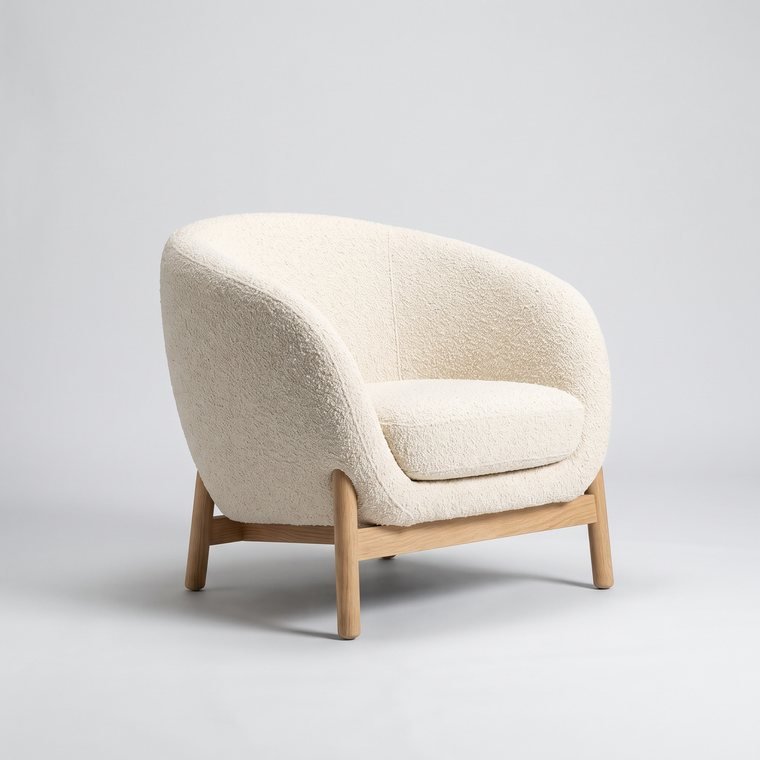
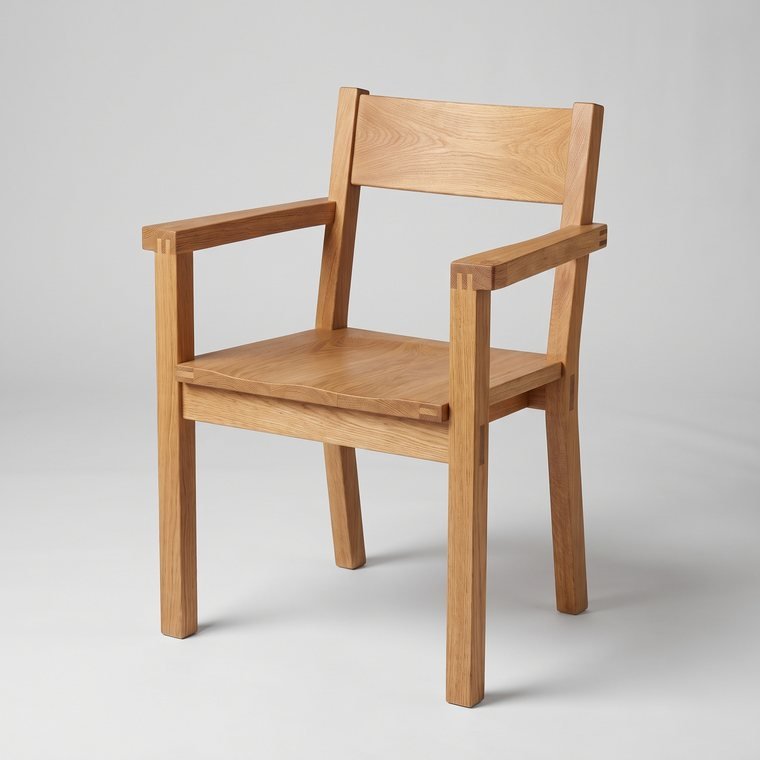
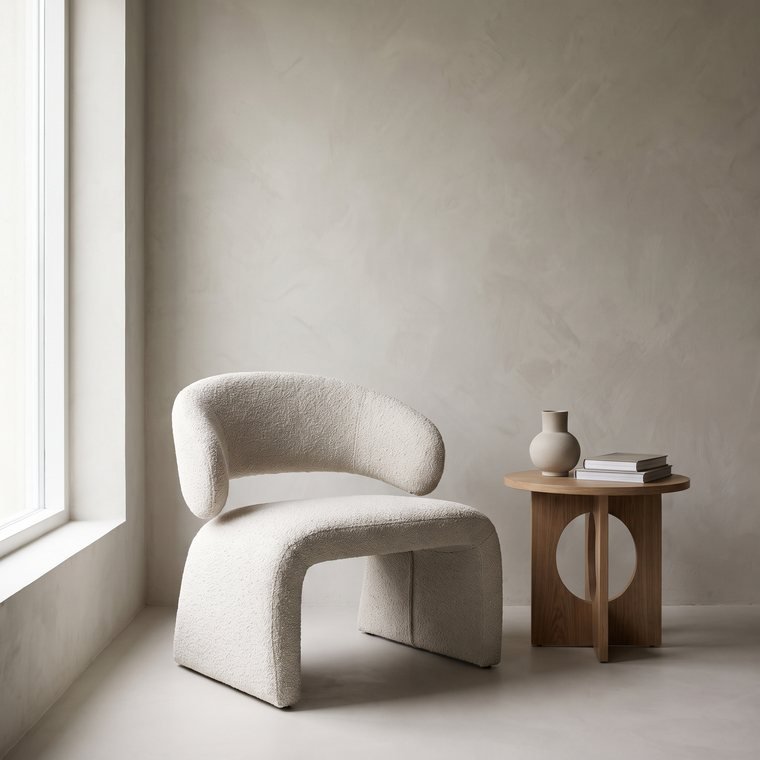
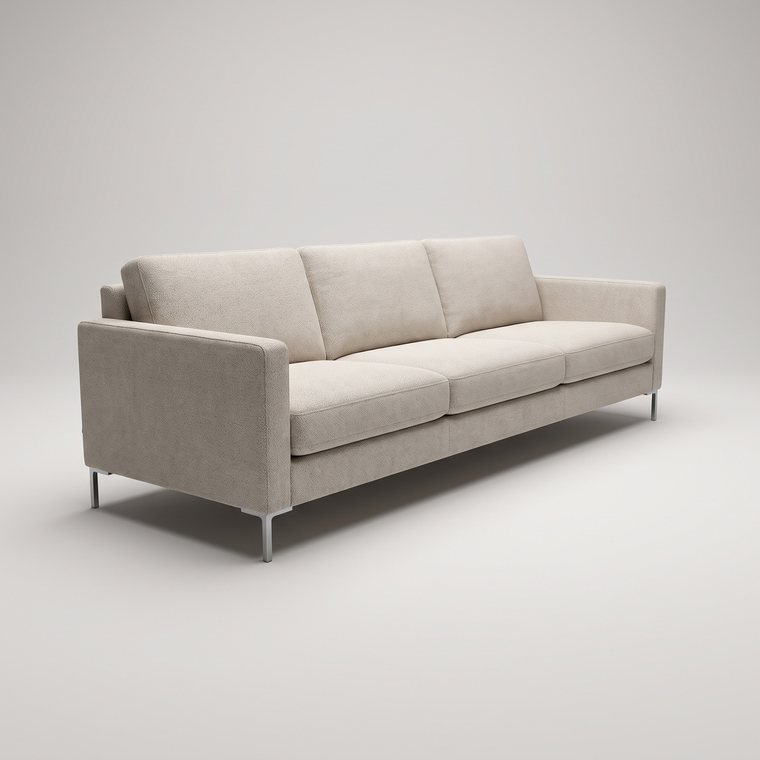
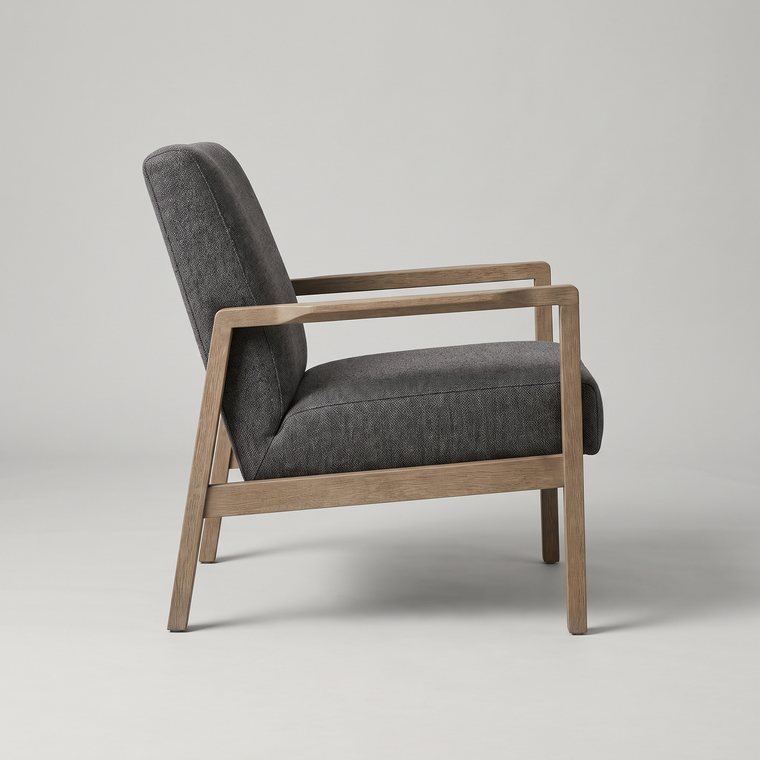
The last one is the exception worth noting: a room scene rather than a cut-out product. Those work
well for /moodboard, /handwritten and
/colorpalette, and badly for anything that needs to isolate one object.
Reference set
Nine codewords with the before-and-after spelled out. These are the ones worth learning first, because between them they cover most of what you would otherwise brief an illustrator for.
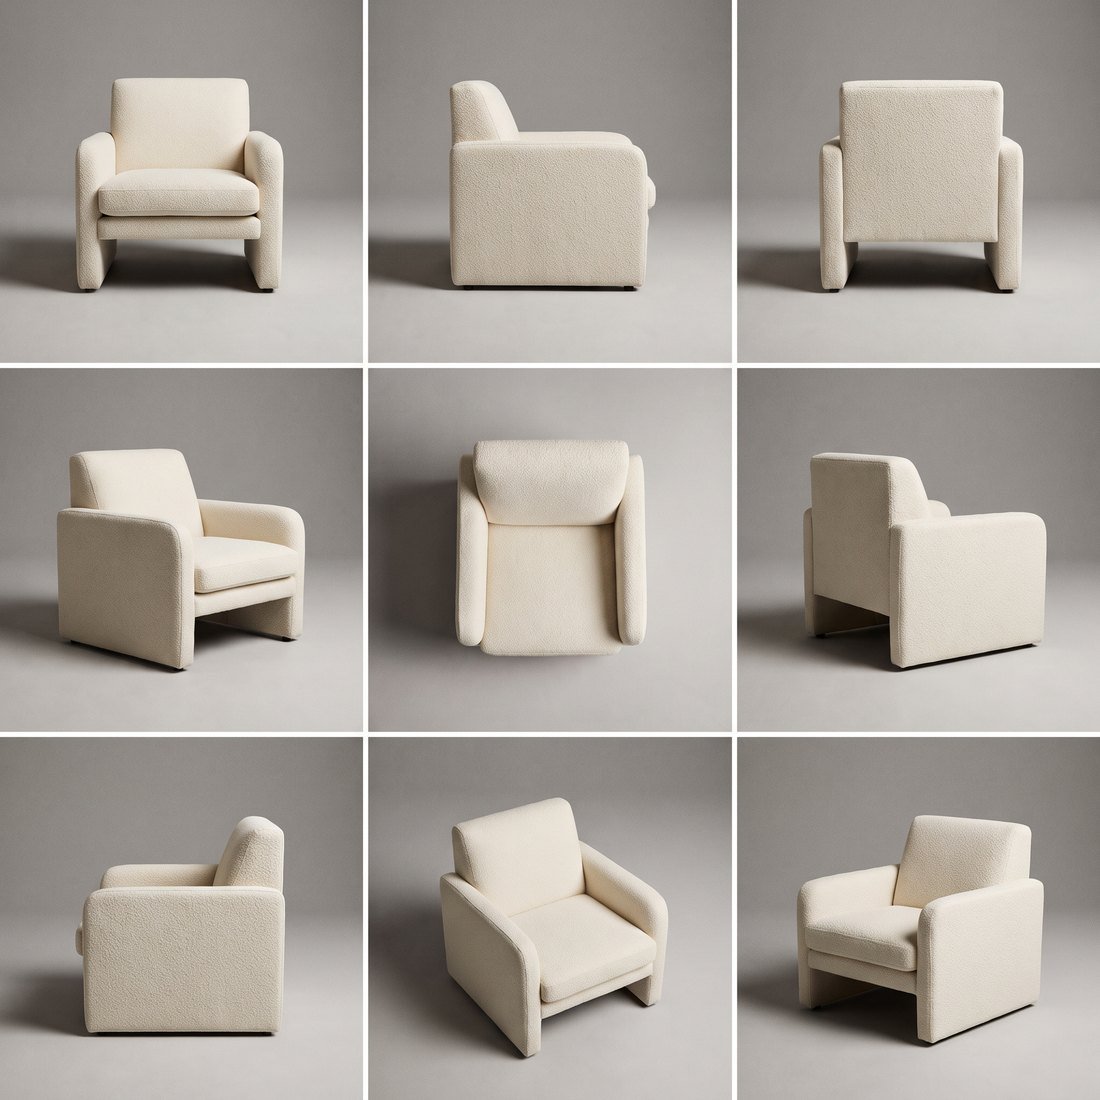
01. /360view — 360-degree showcase
Turns one uploaded subject into a clean multi-angle presentation.
- BeforeOne uploaded product image.
- AfterFront, side, rear and top views in one visual set.
Pairs well with /explodedview /isometric /productshot
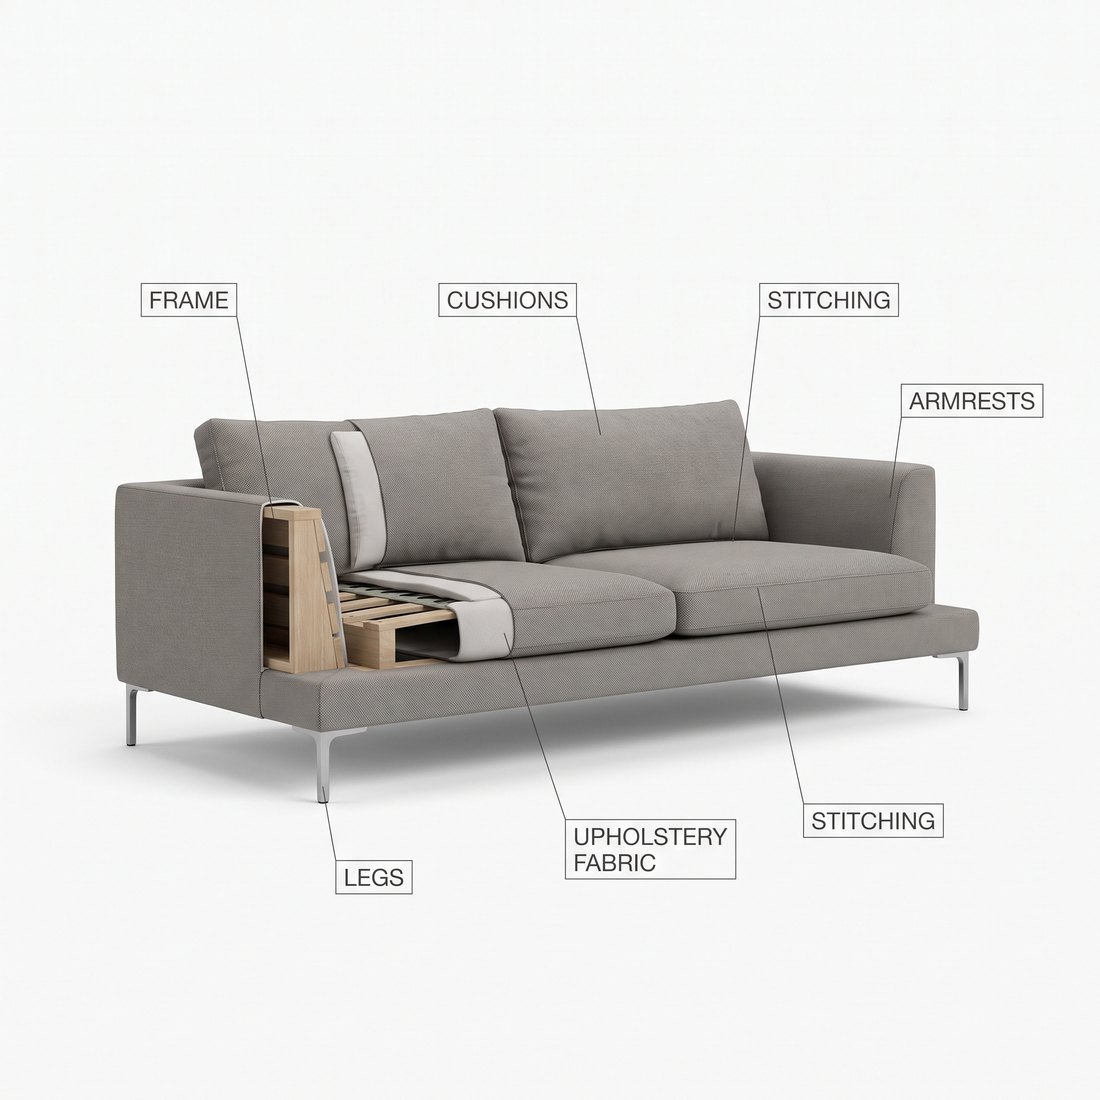
02. /anatomy — Anatomy labels
Explains a subject by separating it into visible parts with labels.
- BeforeOne uploaded subject image.
- AfterA clear educational parts diagram with callouts.
Pairs well with /infographic /crosssection /dimensioned
03. /cutaway — Cutaway view
Slices through the outside so the inside becomes visible.
- BeforeOne uploaded object or vehicle image.
- AfterA realistic cutaway revealing internal structure.
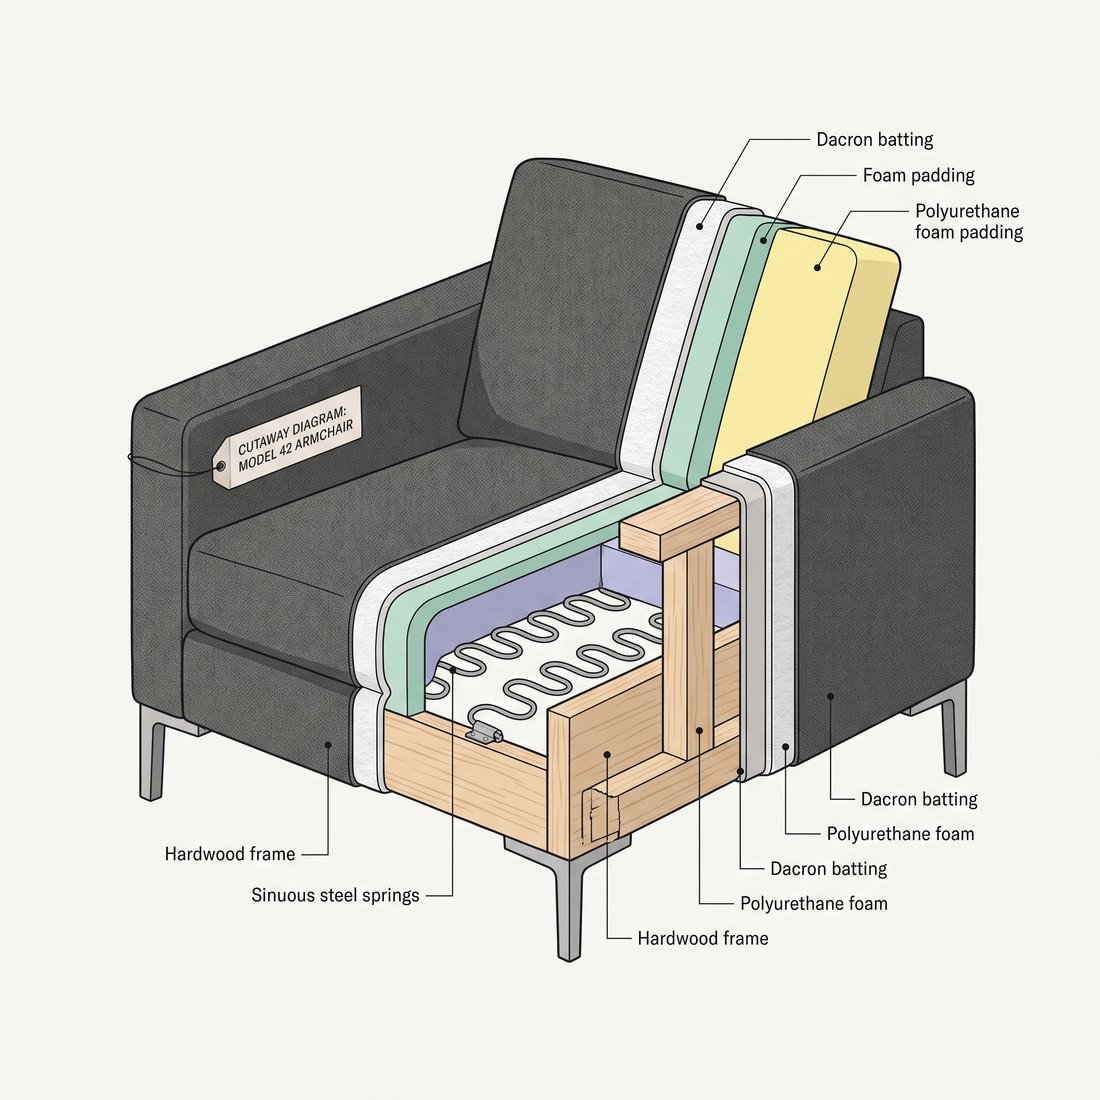
Pairs well with /crosssection /xray /wireframe
04. /layers — Layer stack
Separates an object into stacked surface-to-core layers.
- BeforeOne uploaded object or building image.
- AfterA readable vertical stack of the object’s layers.
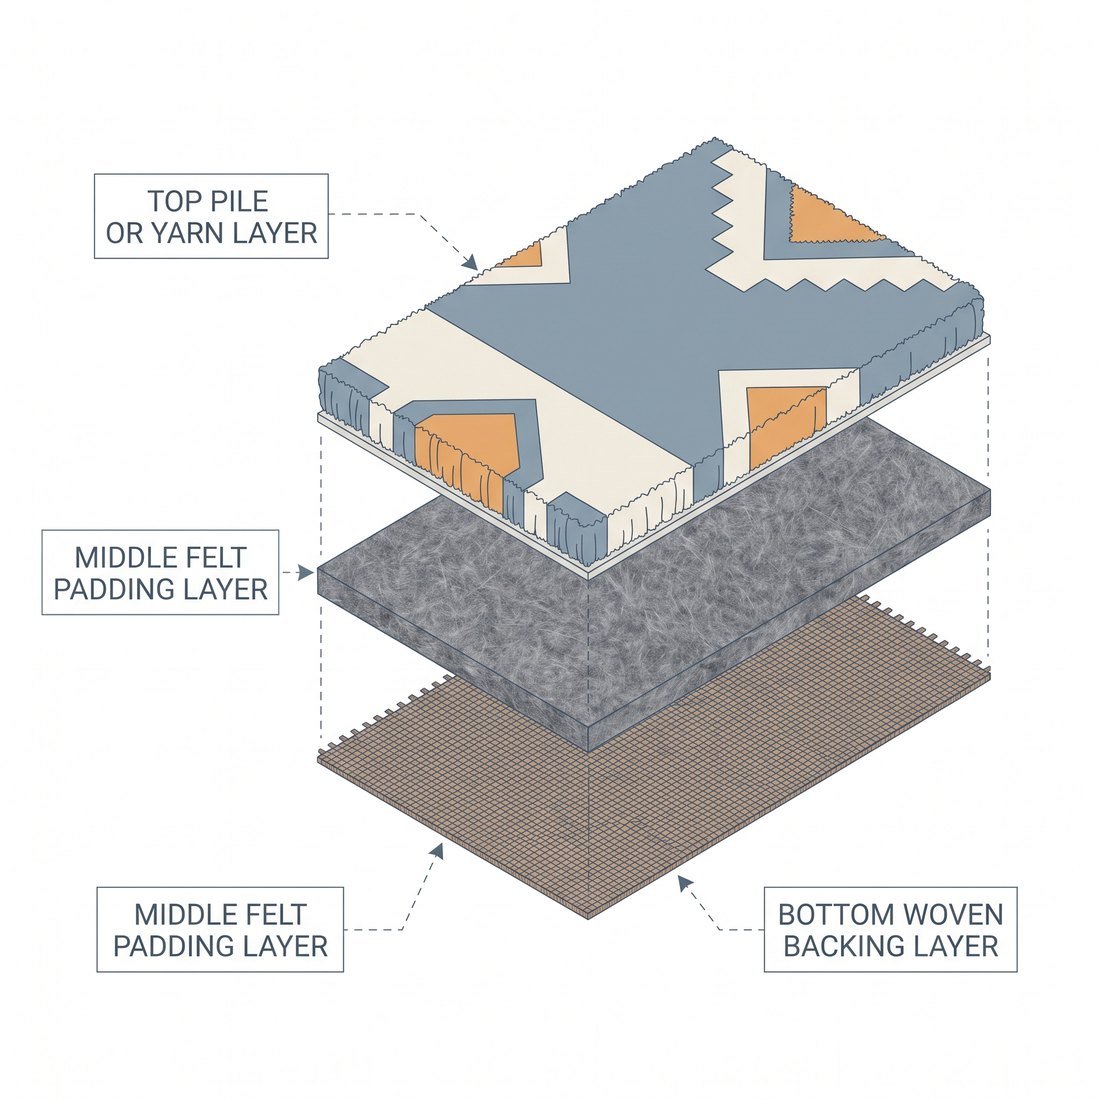
Pairs well with /explodedview /isometric /materials
05. /xray — X-ray view
Makes the outside translucent so the internal structure reads through it.
- BeforeOne uploaded subject image.
- AfterA cool, semi-transparent internal view.
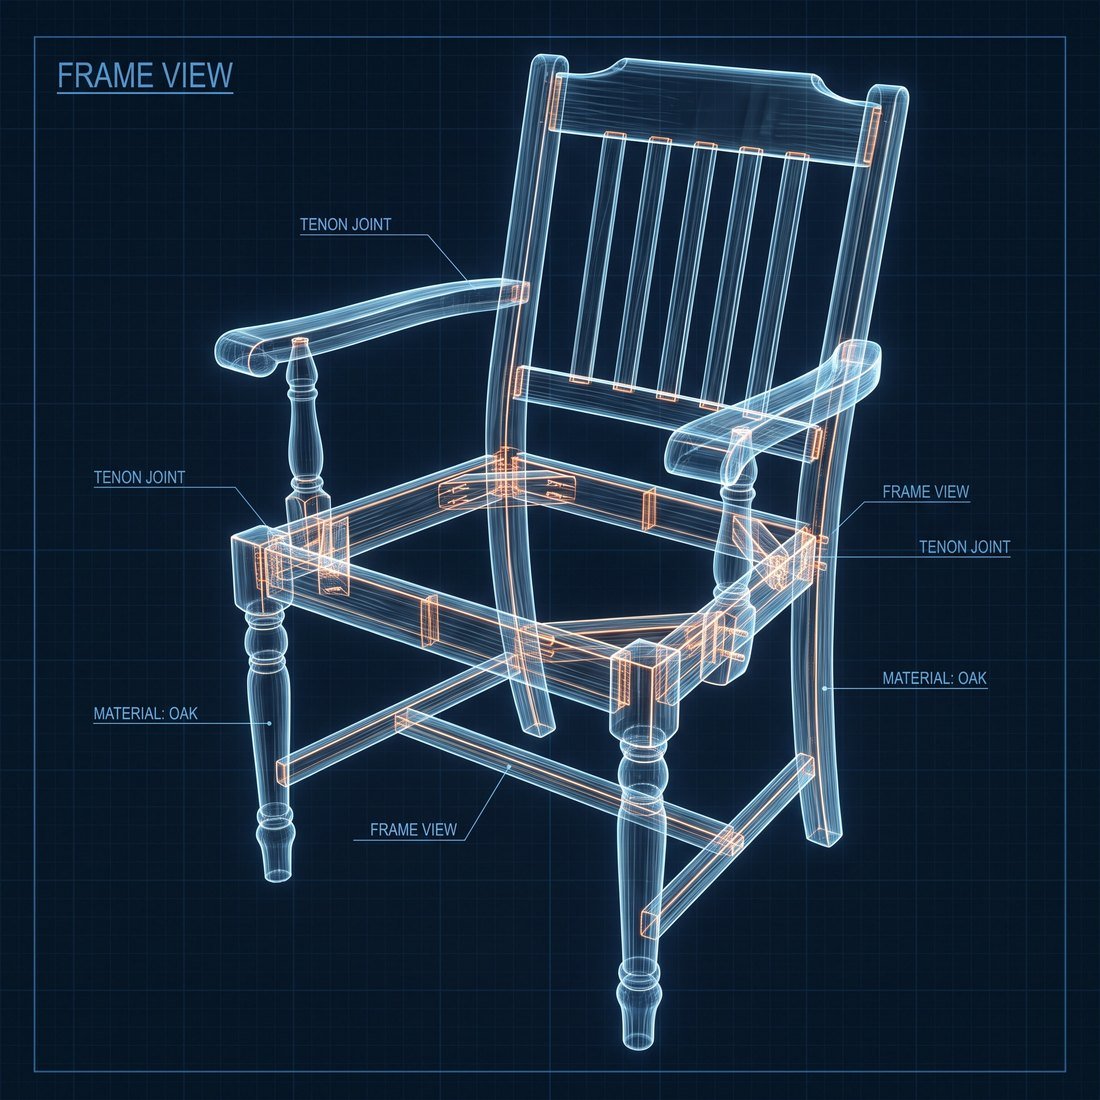
Pairs well with /transparent /skeleton /wireframe
06. /explodedview — Exploded view
Pulls components apart while keeping their assembly relationship clear.
- BeforeOne uploaded device or object image.
- AfterFloating parts arranged in build order.
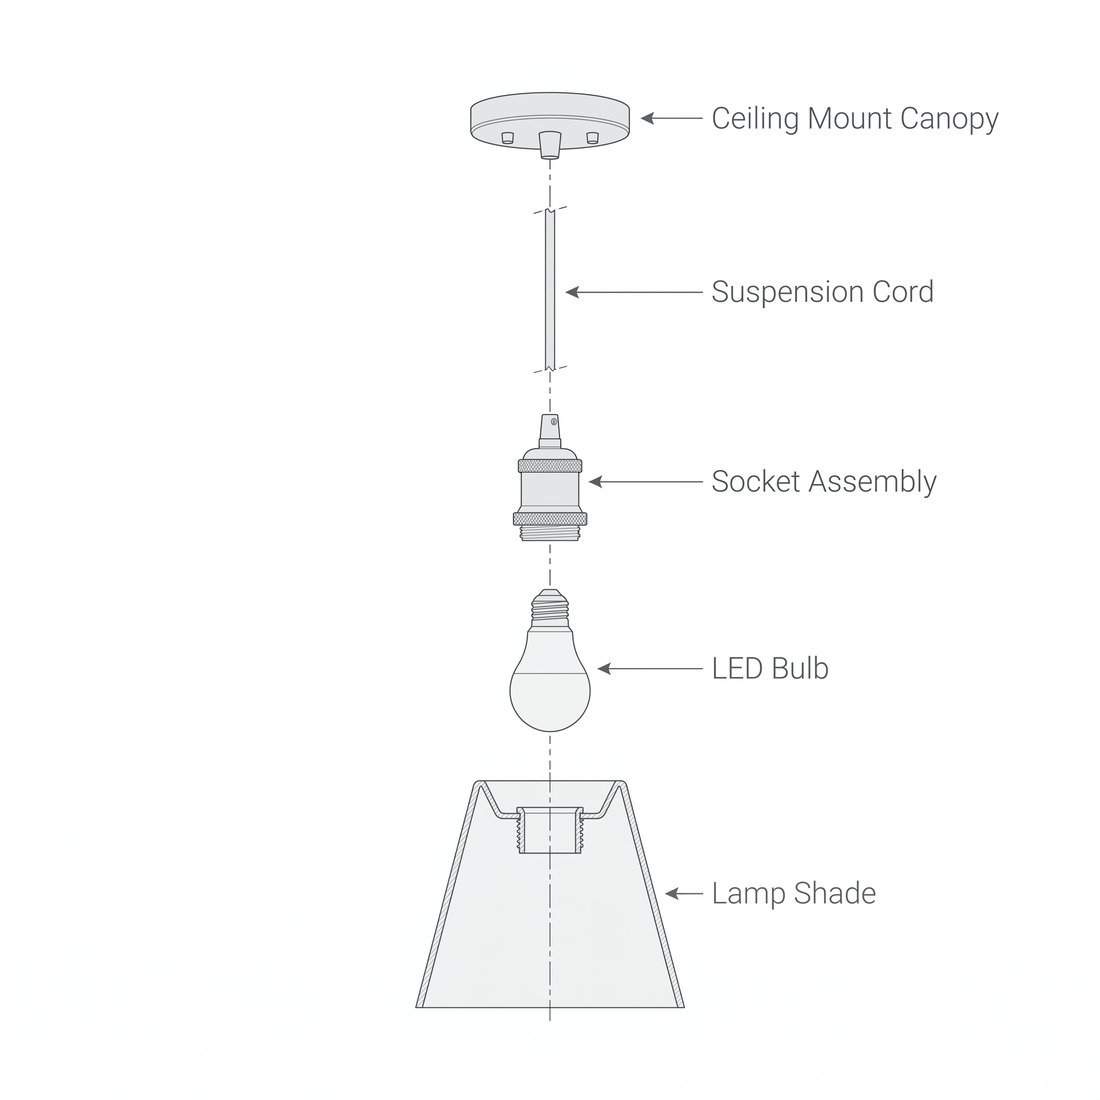
Pairs well with /assembly /isometric /dimensioned
07. /microscopic — Microscopic view
Zooms into the material, texture or surface at extreme scale.
- BeforeOne uploaded material or object image.
- AfterA macro or microscope-like surface study.
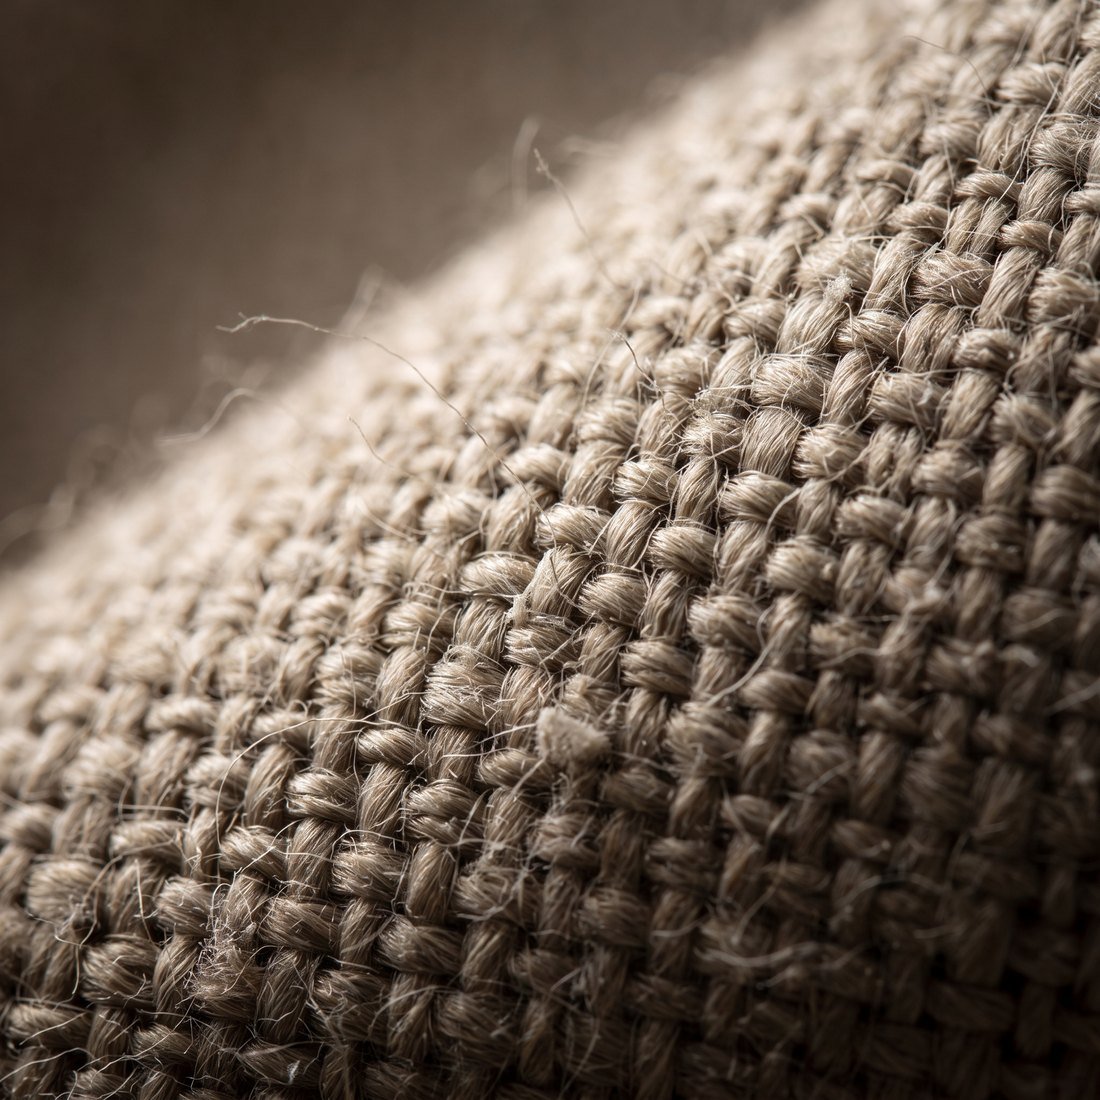
Pairs well with /macro /materials /topdown
08. /blueprint — Blueprint
Converts the subject into a technical drawing with grid and callouts.
- BeforeOne uploaded object image.
- AfterA technical sheet with linework and dimensions.
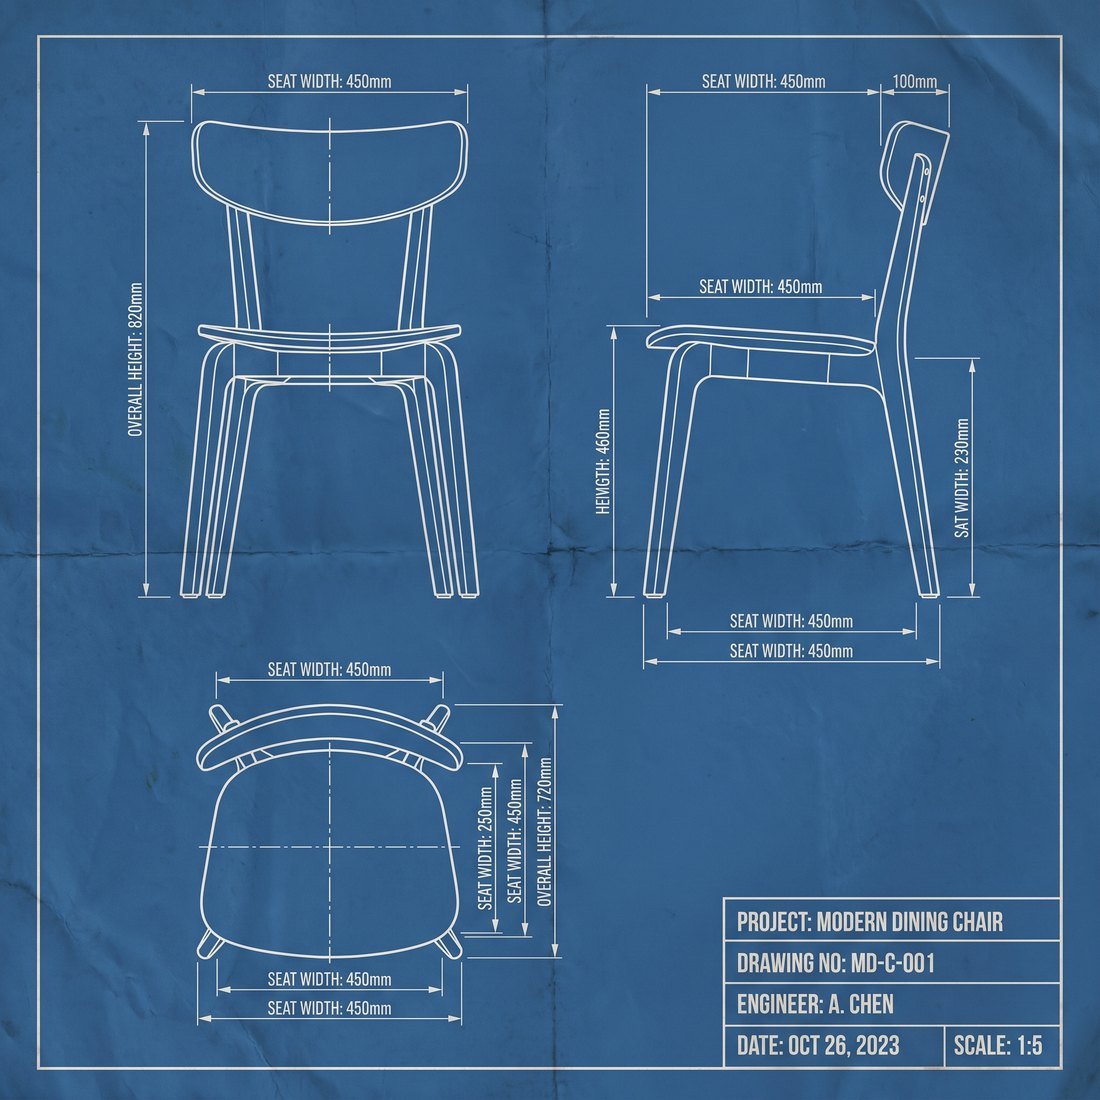
Pairs well with /dimensioned /orthographic /isometric
09. /handwritten — Handwritten notes
Turns the subject into a casual study sheet with notes and arrows.
- BeforeOne uploaded subject or page image.
- AfterA handwritten visual summary with annotations.
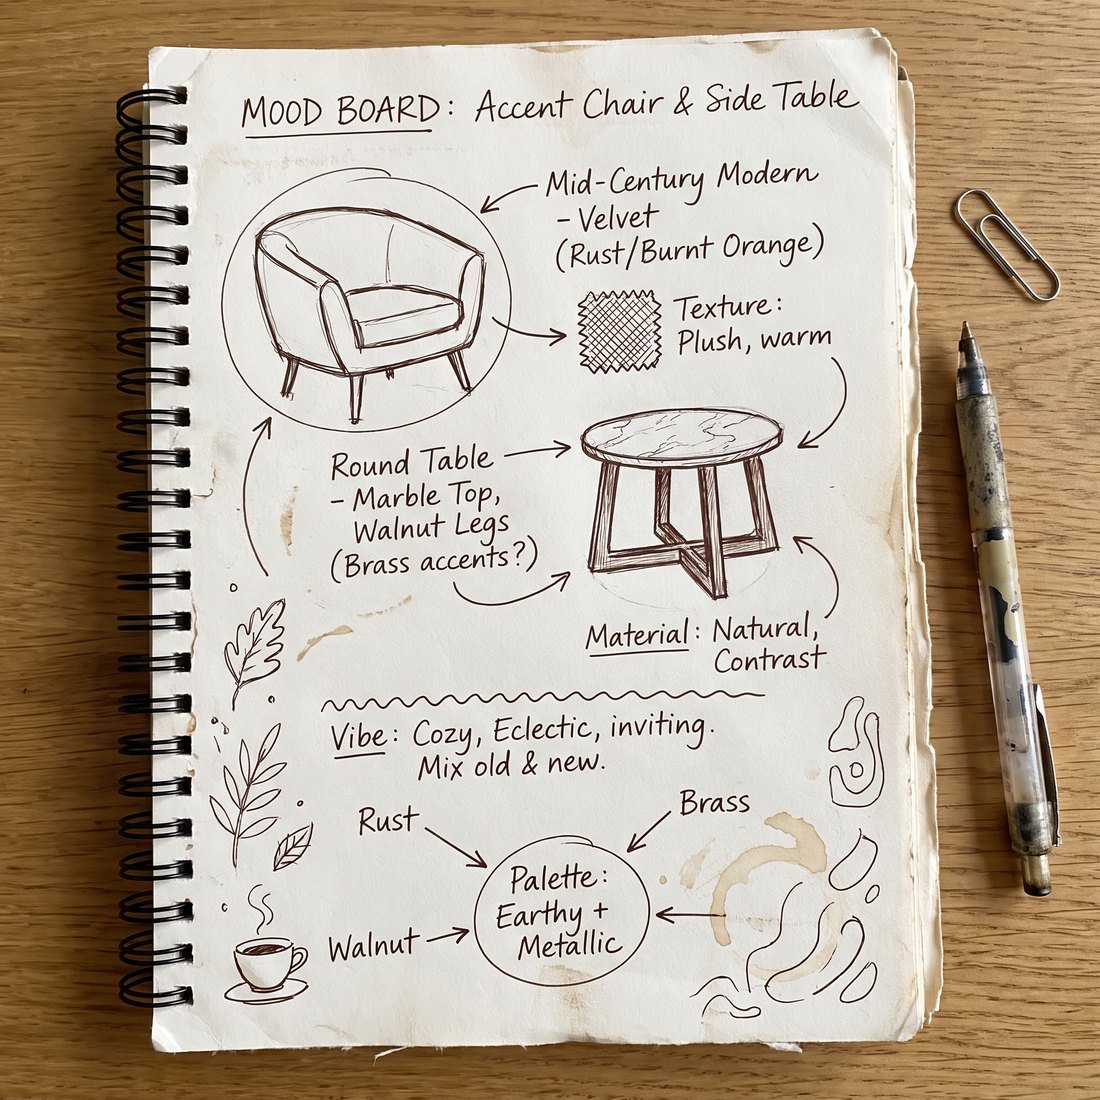
Pairs well with /infographic /mindmap /sticker
The full library
Structure and engineering
/crosssection— Cross-sectionShows a clean slice through the subject from one chosen direction./isometric— Isometric renderPresents the subject in a dimensional three-quarter technical view./orthographic— Orthographic sheetCreates front, side and top views with matching scale./transparent— Transparent shellFades the outer shell so the internal form remains visible./skeleton— Structural skeletonReduces the subject to its frame, supports, bones or main geometry./wireframe— WireframeRebuilds the form as a clean mesh of lines and vertices./mechanism— How it worksExplains motion or cause-and-effect with a simple visual sequence./assembly— Assembly stepsTurns the subject into an ordered build or setup sequence./dimensioned— Dimensioned drawingAdds practical measurement lines and proportion cues./scale— Scale comparisonShows the subject beside familiar size references./materials— Material breakdownMaps the subject’s surfaces into a compact material and texture board.
Camera and lighting
/productshot— Product shotReframes the subject as polished catalogue or ecommerce photography./portrait— PortraitTreats the subject as the focus of a composed portrait image./topdown— Top-down viewChanges the viewpoint to a flat-lay or overhead composition./macro— Macro photoMoves close to show fine texture, edges, pores, grain or tiny details./aerial— Aerial viewReimagines the scene from above like a drone or map camera./cinematic— Cinematic frameGives the image film-like composition, contrast and atmosphere./streetphoto— Street photoPlaces the subject in a candid, lived-in documentary moment./night— Night sceneRebuilds the lighting as evening or night while preserving the subject./goldenhour— Golden hourAdds warm low-angle light like sunrise or sunset./rain— Rainy moodAdds believable rain, wet surfaces and a cool atmospheric mood./snow— Snowy moodAdds winter atmosphere, snow cover and soft cold light./longexposure— Long exposureTurns motion or light into smooth trails and streaks.
Art and style
/watercolor— WatercolourRepaints the subject as a loose watercolour illustration./ink— Ink sketchRedraws the subject with confident black ink lines and hatching./pencil— Pencil sketchConverts the subject into graphite lines, shading and construction marks./comic— Comic panelTurns the subject into a bold comic-style panel with action and graphic shapes./storybook— StorybookPlaces the subject in a warm illustrated storybook scene./pixelart— Pixel artReduces the subject into a readable low-resolution sprite or scene./lowpoly— Low-poly 3DRebuilds the subject from clean faceted polygon surfaces./clay— Clay renderMakes the subject look like a soft studio clay model./papercraft— PapercraftReconstructs the subject as folded paper, card or cut shapes./collage— CollageBuilds a mixed-media collage from paper, photos, blocks and marks./risograph— Risograph printApplies limited ink colours, grain and offset print texture./neon— Neon glowPushes the subject into a dark electric neon visual language./stainedglass— Stained glassReinterprets the subject as coloured glass panels joined by dark leading./retro— Retro printGives the subject a nostalgic mid-century print or poster treatment.
Design and explain
/infographic— InfographicOrganises the subject into a fast-scanning visual explanation./flowchart— FlowchartTurns a process or decision into connected boxes and arrows./mindmap— Mind mapExpands the subject into a central idea with connected branches./mockup— UI mockupPlaces the subject into a practical app, poster or interface mockup./poster— PosterTurns the subject into a bold poster composition with hierarchy and negative space./icon— IconSimplifies the subject into a strong, recognisable symbol./sticker— Sticker sheetCreates a playful sticker-like version or a small sticker set./colorpalette— Colour paletteExtracts a useful palette and pairs it with the source subject./moodboard— MoodboardBuilds a compact visual direction board around the source image./map— Map viewAbstracts a place or layout into a simple visual map.
Editing shortcuts
/isolate— Clean cutoutRemoves the background and leaves a crisp subject cutout./backgroundswap— Background swapKeeps the subject and replaces the surrounding environment./remove— Object removalRemoves one unwanted object and repairs the surrounding scene./add— Object addAdds one useful object while matching scale, light and perspective./recolor— RecolourChanges the subject’s colour while preserving shape and texture./restore— RestoreRepairs damage, noise, fading or age while keeping the subject recognisable./translate— Translate textReplaces visible text with another language while preserving layout./clean— Clean upSimplifies clutter, aligns details and makes the image easier to read.
Getting more out of it
Stack two codewords. Most of these compose. /cutaway then /dimensioned gives you a sectioned drawing with measurements. /isolate then /productshot takes a photograph shot on a site table and turns it into catalogue-ready imagery.
Start from the reference set. The nine detailed entries are the ones with the widest reach. If a codeword is not producing what you expected, the usual cause is the upload rather than the term — a cluttered or low-resolution source gives the model less to work from.
Add a word only when you need to. The point of a codeword is that it carries a full instruction. Add specifics only when the default is genuinely wrong for your case, such as a material name or a colour you have to match.
Where this pays off is volume. A furniture brand with 200 products, a developer with a hundred site photographs, an architecture practice preparing a submission set — the work that used to sit in a queue waiting for a designer becomes something a project manager can do between meetings.